Setup Files
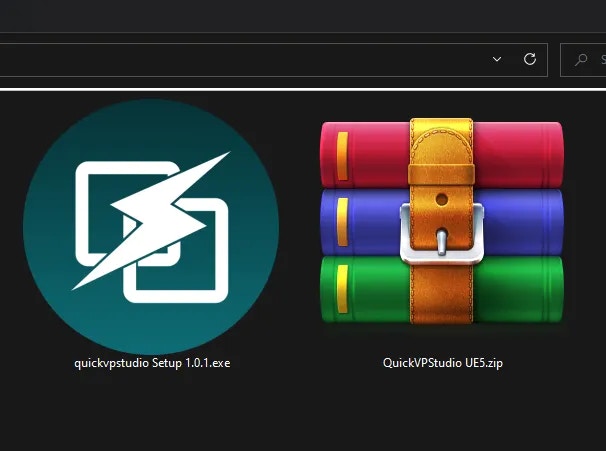
When you download QuickVP you receive 2 files- QuickVP Controller Program for controlling the virtual studio remotely
- QuickVP Studio Plugin Unreal Engine Plugin
Installing the QuickVP Controller
Just double click on the executable and it will automatically open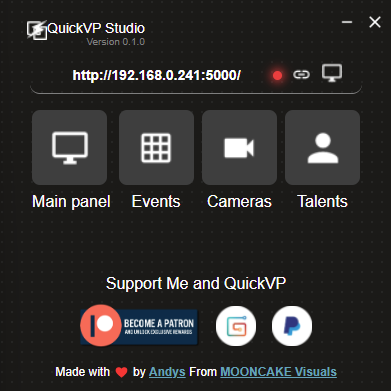
Installing the Plugin
1st step (Copying the plugin)
Extract the compressed file, then move theQuickVPStudio folder into your Unreal Engine plugins directory: Engine/Plugins/Marketplace

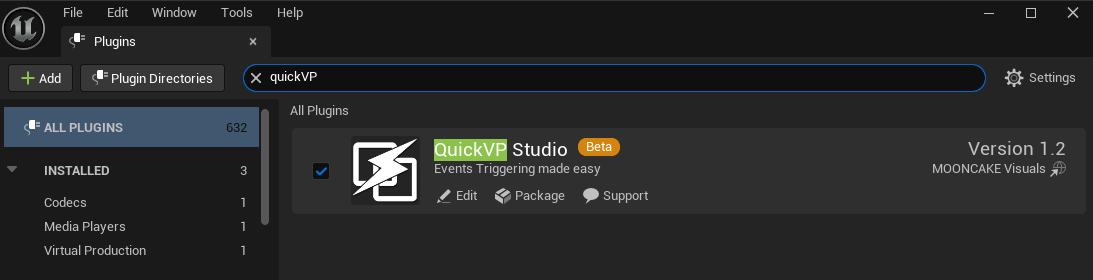
2nd step (Activation)
After copying the plugin, enable it by going to theEdit menu → Plugins, type QuickVP in the search box, and activate it.
Important The TAA Fix will not work unless you enable Custom Depth-Stencil
Pass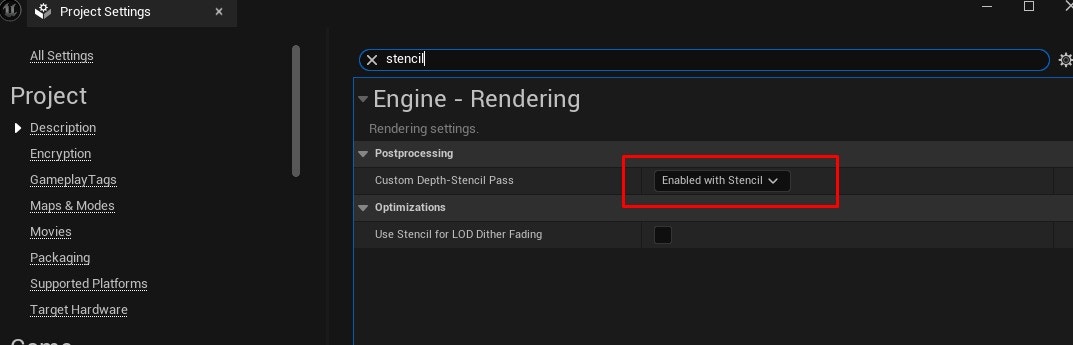
- Go to Project Settings
- Search for Custom Depth-Stencil Pass, and set it to
Enabled with Stencil
3rd step (Test Installation)
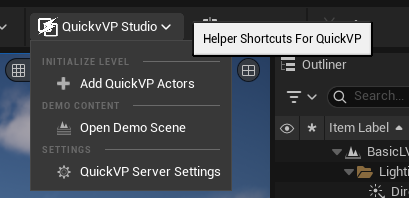
After enabling the plugin, restart the unreal engine editor. Once restarted, you will see a new QuickVP Studio menu in the toolbar with three options:- Add QuickVP Actors Automatically adds the required actors to your scene to get started
- Open Demo Scene Loads a minimal demo scene with examples of how to set up QuickVP actors
- QuickVP Server Settings Opens the settings panel where you can configure the IP address of the QuickVP server